
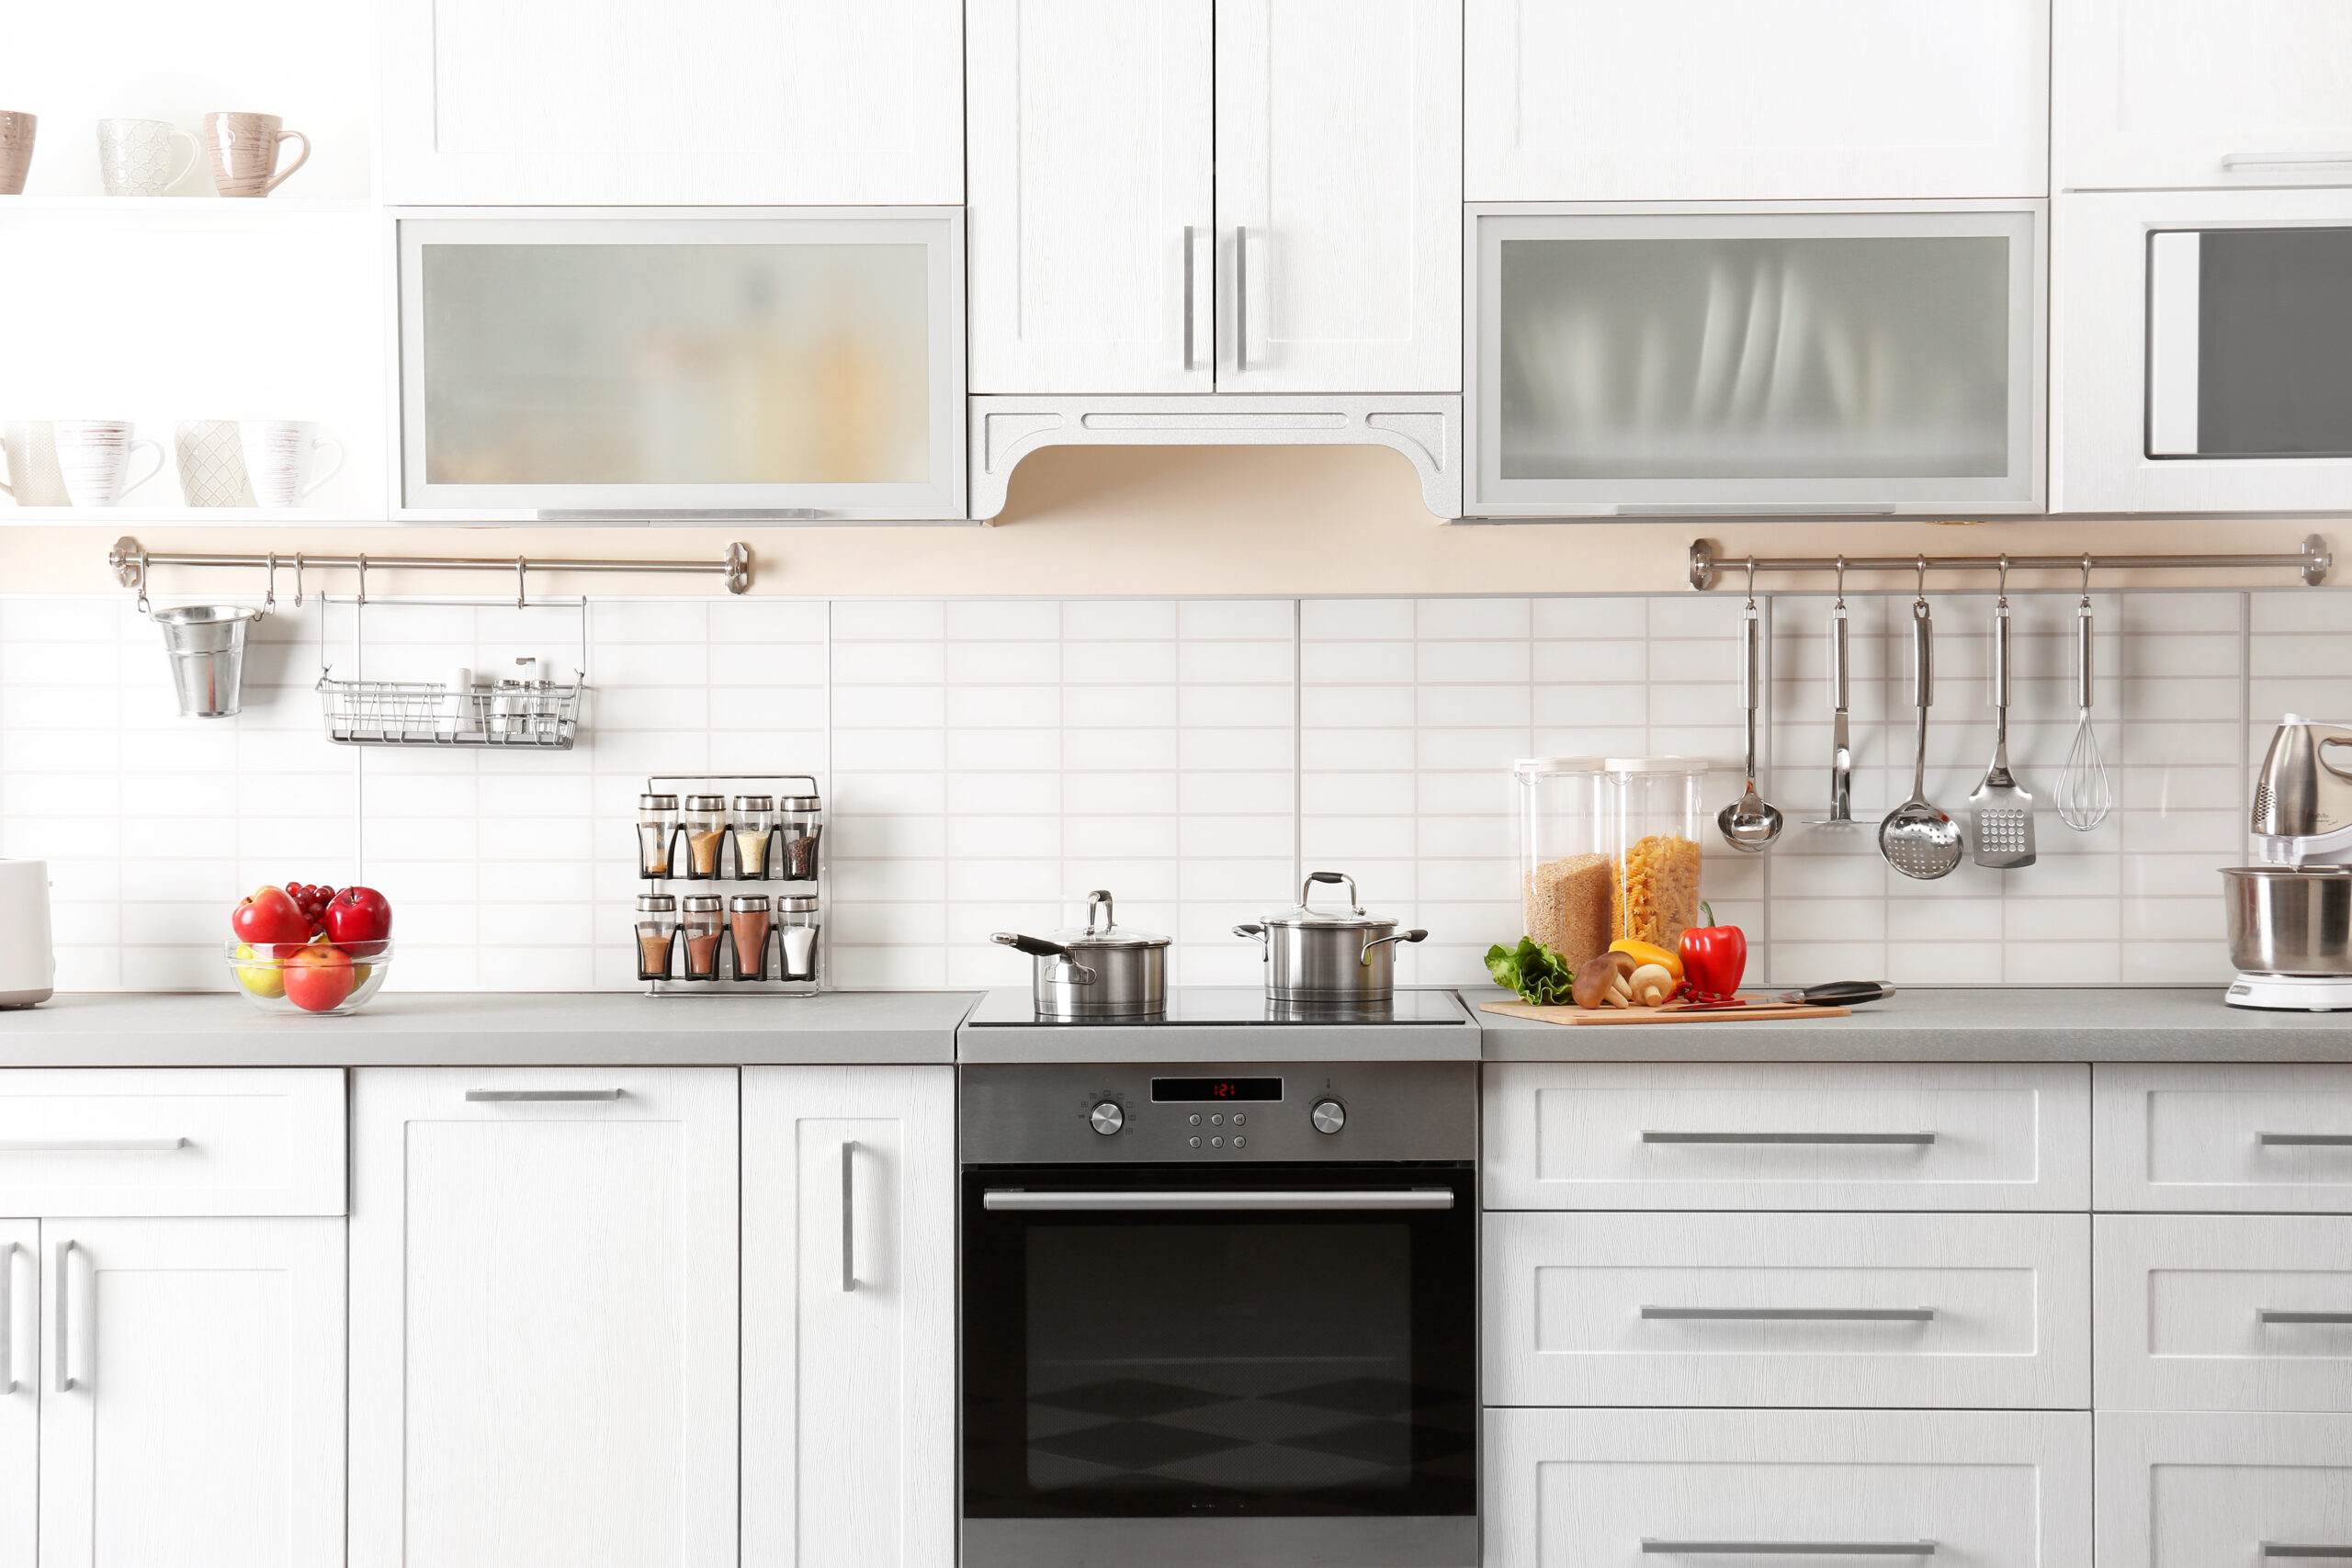

Ask anyone who’s moved before which room hit them the hardest, and I’d bet good money they say the kitchen. It’s heavy. It’s fragile. And it’s packed with a hundred tiny pieces you forgot you even owned.
Every single time. There’s just something about opening that one junk drawer and realizing it somehow needs its own moving box.
The good news? A little sorting strategy before you touch a single box makes the whole process so much easier. This is your kitchen decluttering checklist, and by the end, you’ll have a lighter, simpler kitchen ready for its next home.
Where Do You Start When Decluttering a Kitchen for a Move?
Here’s the mistake most people make: they start packing before they start sorting. That’s backwards, and it costs you.
Think about it this way. Every item you pack without a second thought is an item you have to lift, box, load, unload, and unpack all over again. Clutter doesn’t just take up space, it costs you real time, more boxes, and sometimes even a bigger truck.
Sorting first is the ultimate shortcut. If you clear out what you don’t need before packing day, you’ll pack faster, move lighter, and unpack in your new kitchen with way less stress. It’s the single best kitchen packing strategy I know.
The 3-Pile System: Keep, Donate, Toss
The easiest way to sort a kitchen is to break everything into three simple piles. No overthinking, no complicated rules. Just Keep, Donate, or Toss.
- Keep is for the things you actually use on a regular basis.
- Donate is for items in good shape that just don’t fit your life anymore.
- Toss is for anything broken, expired, or beyond saving.
Here’s a quick table to help you sort with confidence.
| Category | Keep | Donate | Toss |
|---|---|---|---|
| Mugs & Glasses | The 3–4 mugs you actually drink from daily | Extra mugs still in good shape, unused gift sets | Chipped, cracked, or stained beyond cleaning |
| Small Appliances | Ones you use weekly, like your coffee maker | Working but rarely used gadgets, like a bread maker | Anything that no longer turns on |
| Pantry Items | Staples you use often and aren’t expired | Unopened, non-expired items you won’t use | Expired food, half-used bags gone stale |
| Cookware | Pots and pans in regular rotation | Extra sets in good condition | Warped pans, missing lids with no match |
| Utensils | Everyday tools you reach for often | Duplicate sets in decent shape | Bent, melted, or broken utensils |
Step-by-Step Kitchen Sorting Flow
Once you understand the three piles, it helps to tackle your kitchen in a specific order. This flow keeps you from feeling overwhelmed and builds momentum as you go.
Step 1: The Dupes and Mismatches
Start here because it’s the easiest win. Open your cabinets and count your mugs. I’d bet you find something like 15 mismatched coffee mugs, but you probably only ever reach for the same 3.
The same goes for water bottles, mixing bowls, and food storage containers with missing lids. Duplicates are the fastest clutter to clear, so knock these out first to build momentum.
Step 2: The Gadgets You Never Use
Next, go through your small appliances and specialty gadgets. That panini press you used twice in 2022. The ice cream maker still in its box. Be honest with yourself here.
If you haven’t used it in the last year, it’s a strong candidate for the Donate pile.
Step 3: The Pantry Purge
Now tackle the pantry. This is where things like that bag of specialty flour you bought two years ago tend to hide. Check expiration dates on everything, and be realistic about half-opened items you know you’ll never finish.
A lighter pantry also means less weight to pack and fewer things that could spill during the move.
Step 4: The Fragile Ware
Save your fine china, glassware, and delicate dishes for last. These items take the most time and care to sort and pack, so it’s smart to tackle them once your momentum is already built from the earlier, easier steps.
Mark’s Quick Pro-Tips for Packing
Once your kitchen is sorted, a few small habits make packing day go a lot smoother.
- Use dish towels and linens as wrapping. Instead of buying extra paper wrap, use towels, cloth napkins, or even socks to cushion fragile items. It saves money and doubles up your packing.
- Photograph complex appliance setups before unplugging. If you have a tangle of cords behind your coffee station or a specific hookup for your fridge’s water line, snap a photo first. Future you will be so grateful when it’s time to set everything back up.
- Pack a “final week” essentials box. Set aside one box for the everyday plate, cup, and utensil set you’ll actually use during your last week in the house. Keep it separate from the rest so it’s the last thing loaded and the first thing unpacked.
- Box heavy items in small boxes. Cookware and canned goods get heavy fast. Smaller boxes are much easier to lift safely than one giant box stuffed to the top.
A Lighter Kitchen Means an Easier Moving Day
A decluttered kitchen isn’t just about fewer boxes. It’s about walking into your new home without dragging along years of things you never really needed in the first place.
Take it from someone who’s packed up more than a few kitchens: a little sorting effort now saves you hours of frustration later, and it gives you a genuine fresh start in your new space.