
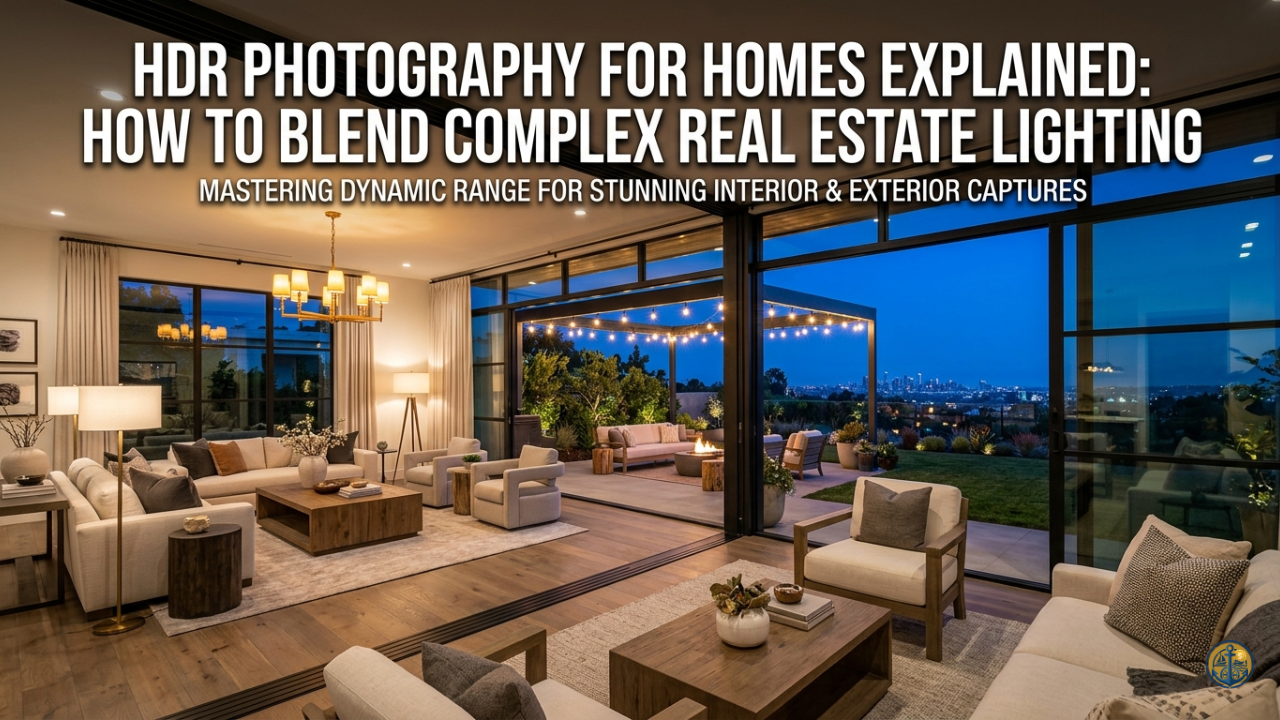

Point a camera at a bright window in a dim living room and you’ll get one of two results: a properly exposed window with a black cave of a room around it, or a properly exposed room with a blown-out white rectangle where the view used to be. Your eye doesn’t have this problem — the human visual system adapts dynamically as it scans a scene, reading detail in shadow and highlight almost simultaneously.
A camera sensor can’t do that in a single frame. That gap between what your eye sees and what one exposure can capture is called dynamic range, and high dynamic range imaging is the mechanical workaround: shoot multiple exposures of the same static scene, then blend them so every part of the frame — from the darkest floor corner to the brightest window view — holds real detail.
Section 1: The AEB Setup (How to Shoot Brackets Correctly)
HDR starts on the tripod, not in software. If the camera moves between frames, even by a fraction of a millimeter, the blend will show doubled edges and soft ghosting along every hard line in the room.
Camera locked on a sturdy tripod. This is mandatory, not optional. Handheld bracketing might look aligned on the camera’s LCD screen and still fail to merge cleanly once you’re zoomed in during editing.
Lens set to manual focus. Autofocus can hunt or shift infinitesimally between shots, especially in low light, and that tiny shift is enough to soften the merged result.
ISO fixed at 100. You want the cleanest possible signal in every bracket, and since exposure time is doing all the work here (not ISO or aperture), there’s no reason to introduce sensor noise.
Aperture fixed, typically between f/8 and f/11. Keep it locked across every bracket in the sequence — depth of field needs to match exactly, or the blend will show soft mismatches at the edges of furniture and doorframes.
Turn on Auto Exposure Bracketing (AEB) and set a 2-stop interval spread. For a standard room, three exposures at -2, 0, and +2 EV captures most lighting situations. For rooms with a genuinely brutal contrast ratio — think a dark interior with a floor-to-ceiling window facing direct afternoon sun — extend to five exposures at -2, -1, 0, +1, +2 EV to give yourself more data in the highlight and shadow extremes.
Each frame in that sequence is doing a specific job. The darkest frame (-2 EV) is the only one capturing real detail through the window — tree lines, sky color, neighboring rooflines that would otherwise burn to solid white. The brightest frame (+2 EV) is pulling detail out of the room’s darkest zones — under cabinets, closet interiors, shadowed corners behind furniture. The 0 EV frame anchors the true midtones — skin-tone-accurate wood floors, wall color as it actually looks in person.
Section 2: The HDR Bracketing Blueprint
Here’s how a standard 5-shot bracket sequence breaks down, frame by frame.
| Shot Number | Exposure Value (EV) | What the Sensor Is Saving |
|---|---|---|
| 1 | -2 EV | Windows, exterior views, sky detail, bright light fixtures |
| 2 | -1 EV | Transitional highlight detail, bright wall sections near windows |
| 3 | 0 EV | True midtones — accurate wall color, floor tone, furniture color |
| 4 | +1 EV | Transitional shadow detail, under furniture, partially shaded walls |
| 5 | +2 EV | Deep shadows, closet interiors, floor corners, dark cabinetry |
For a simpler 3-shot sequence, drop straight to -2, 0, +2 EV and skip the transitional frames — this works fine for rooms with moderate contrast, but I’d default to 5 brackets any time there’s a large window facing direct sun, since the extra transitional data reduces harsh tonal breaks during the blend.
Section 3: Post-Production & Avoiding the “Cartoonish” HDR Look
Once the brackets are shot, tone mapping software merges them into a single 32-bit file that contains far more dynamic range data than any single exposure could hold — then compresses that data back down into a viewable image.
This compression step is where most amateur HDR goes wrong. Push the tone mapping too aggressively and you get the telltale signs of over-processed HDR: muddy, flattened wall color that’s lost its natural contrast, glowing gray or white halos ringing the edges of furniture and window frames, and an overall look that reads as artificial the second a viewer sees it. It’s a distinct enough look that “that HDR photo” has become shorthand in the industry for exactly this failure.
The fix is to stop chasing maximum shadow recovery and start aiming for true-to-life realism instead. Modern editing tools handle this with ambient-blending features or luminosity masking, which lets you selectively pull detail from specific brackets — usually the window exposure — into the base 0 EV frame, rather than mechanically averaging all five exposures together.
Blend in just enough window detail to see the view without flattening the natural light falloff across the room. If a wall closest to the window looks noticeably brighter than the wall across the room, that’s correct — that’s how the room actually looks to a person standing in it.
A good rule of thumb: if you can immediately tell a photo is HDR, it’s over-processed. The best real estate HDR work is invisible — it just looks like a room that happened to have perfect light.
Section 4: When HDR Fails (And What to Do Instead)
HDR is a static-scene technique, and it breaks down the moment anything in the frame moves between brackets.
Ghosting artifacts show up any time an element shifts position across the exposure sequence — wind moving tree branches or leaves visible through a window, a ceiling fan mid-spin, curtains drifting from an HVAC vent.
The blending software tries to merge multiple positions of the same moving object and produces a translucent, doubled, or smeared result. Turn off ceiling fans before shooting, and if outdoor movement is unavoidable, expect to mask and manually correct that section in post rather than relying on automatic ghost removal.
HDR also struggles with rooms carrying a heavy, uncorrectable color cast — a space lit entirely by mismatched incandescent and fluorescent sources, for instance, where no amount of bracketing fixes the underlying color conflict because every bracket inherits the same bad color information.
This is where a single manual flash pop, often called the “flambient” technique, earns its place in a working photographer’s kit. Firing one manually-controlled flash pop into the ceiling or bounced off a wall, blended with the ambient ceiling brackets, can rescue a room’s color accuracy and eliminate movement-related ghosting in a way pure HDR can’t, since the flash exposure freezes motion and overrides the competing ambient color casts in a single frame.
FAQ
How many bracketed exposures do you need for real estate photography? Three brackets (-2, 0, +2 EV) handle most rooms; extend to five brackets (-2, -1, 0, +1, +2 EV) for high-contrast rooms with large windows facing direct sun.
Do you need a flash to do HDR real estate photography? No — pure ambient HDR bracketing works for the majority of rooms, but a single flash pop (the flambient technique) becomes useful for rooms with heavy color cast issues or unavoidable motion like ceiling fans and window-adjacent movement.
What is the best software for merging HDR real estate photos? Photomatix, Lightroom’s built-in HDR merge, and Photoshop’s 32-bit HDR merge are the three most widely used tools in the industry, with Lightroom generally preferred for its more natural default tone mapping curve straight out of the merge.